Preparing and Cutting Out the Back
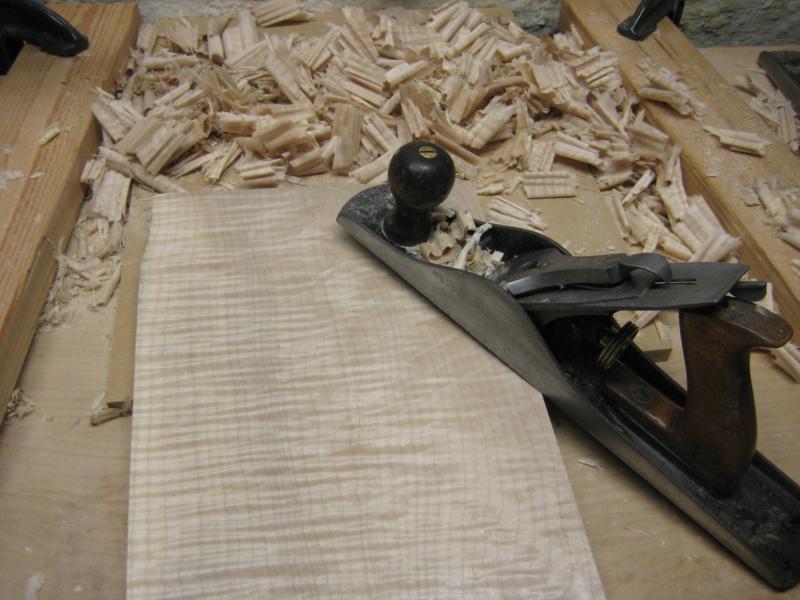
The back of the violin is traditionally made of maple. More commonly the back is also made of a piece that is cut in half and then opened like a book and joined in the middle to create a “book matched” joint. However, my piece of maple is large enough to use as a single piece back. As seen below the maple is highly figured (flamed). First, I started by planing the wood and getting it roughly flat.
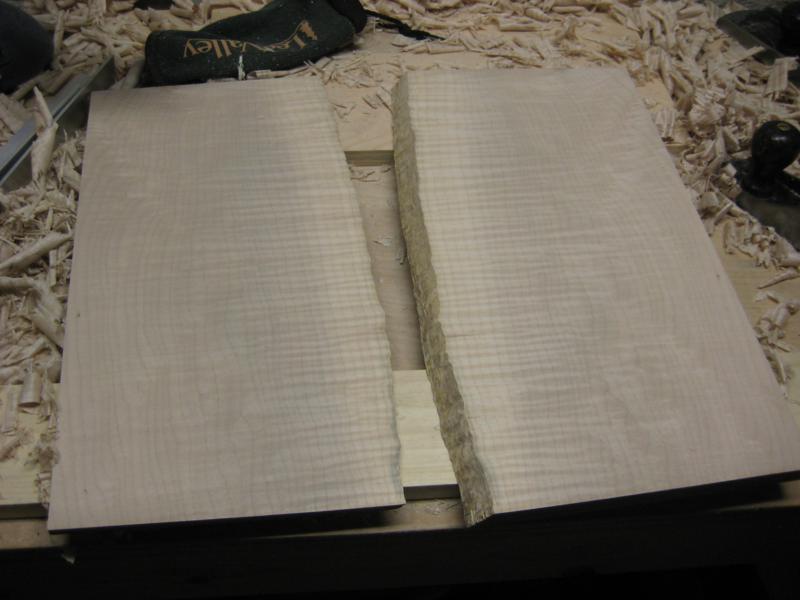
 The back was thick enough that a fair amount of wood would have been wasted getting it to the initial thickness, so I took it to the bandsaw and re-sawed it. Now there’s an extra piece of very pretty maple for another project.
 To trace the outline of violin, everything needs to be nice and flat. After some planing everything was smooth and co-planer again.
 To trace the shape of the violin, I drilled tiny holes in the upper and lower blocks and also into the back of the violin. Small pins can then be inserted to ensure everything stays aligned.
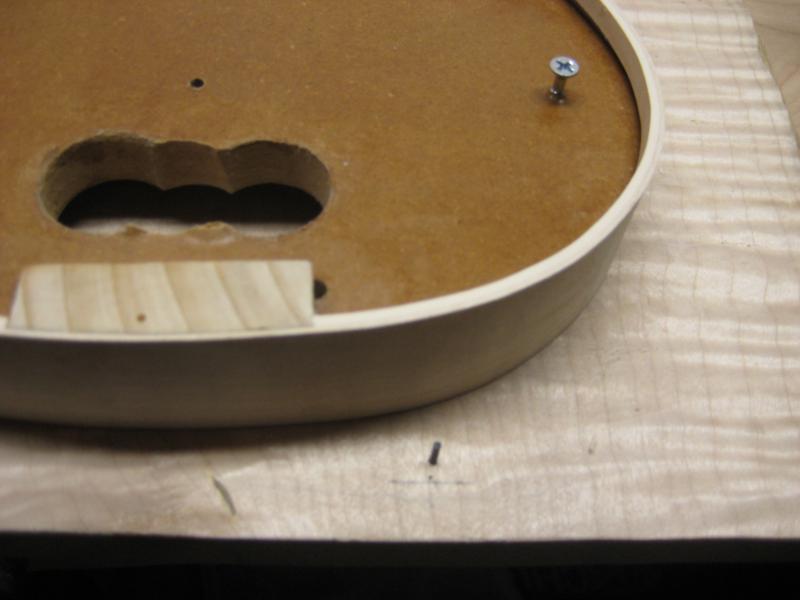 To get the appropriate amount of overhang, I used a small washer while tracing the ribs.
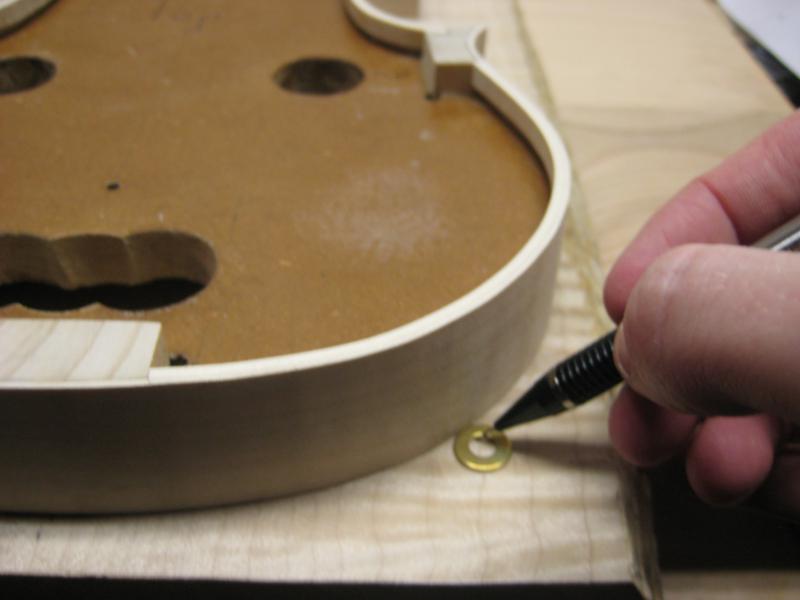
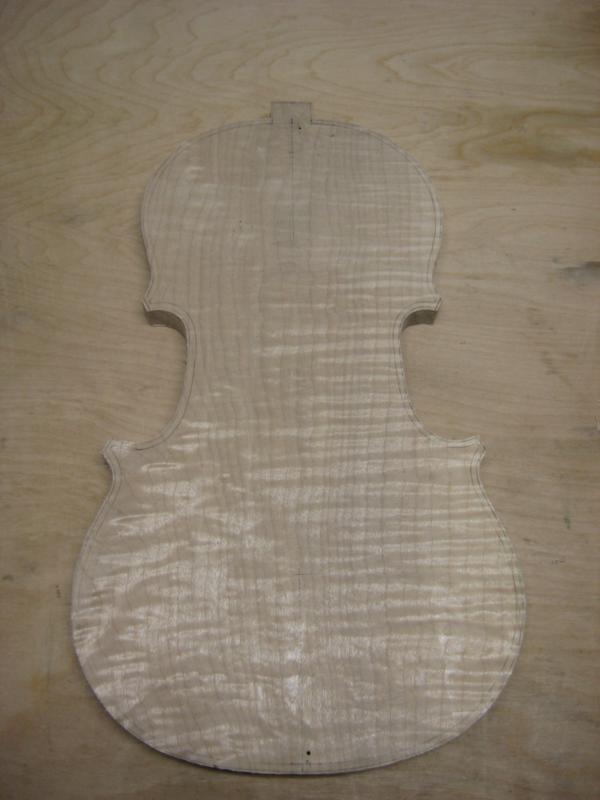
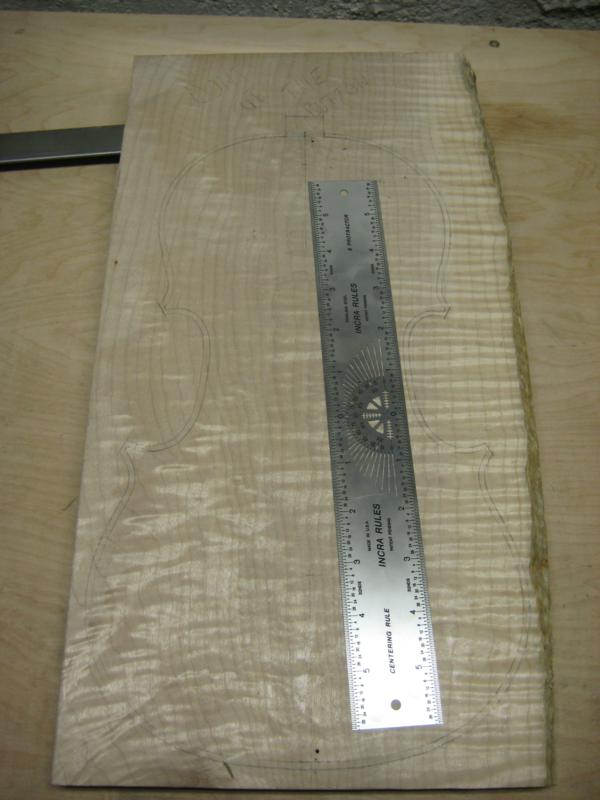
I drew the corners by hand to avoid them looking rounded and I also added the top “button.” Here the violin is fully outlined.
 I then cut the back on the bandsaw. A little bit of extra is left outside the line to refine later.